How to make a wood texture in Gimp |
|---|
 |
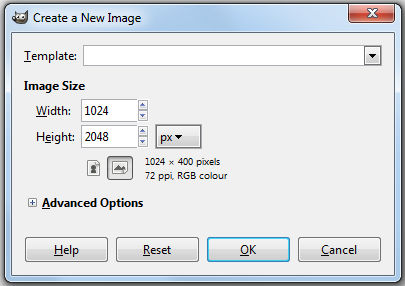
1. Create a image |
| |
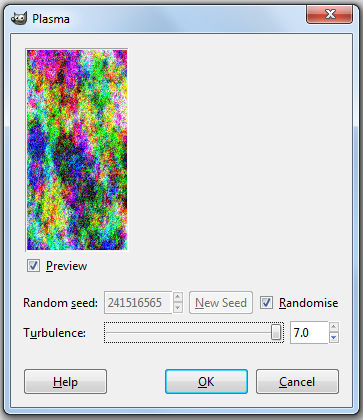
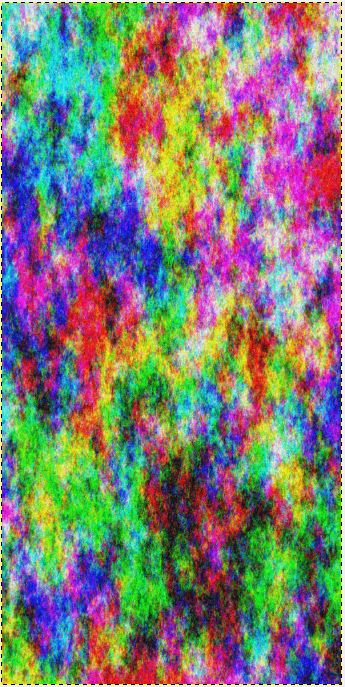
2. use Plasmafilter |
|
|
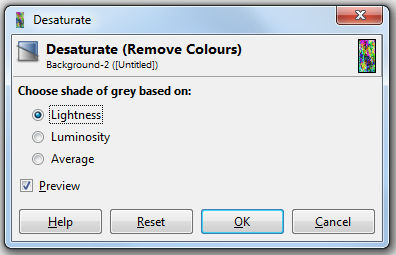
3. Desaturate |
| |
| |
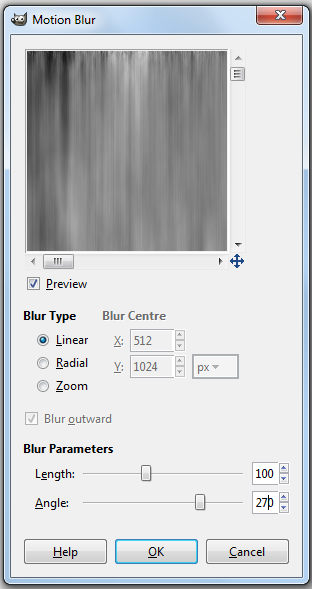
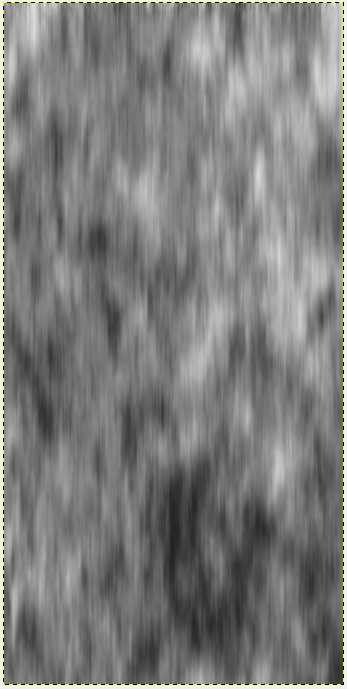
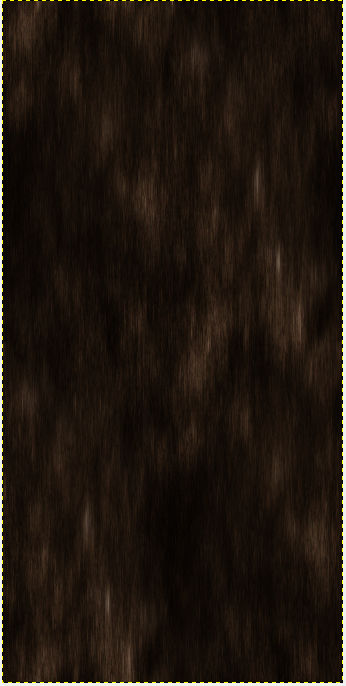
4. Motion Blur |
| |
| |
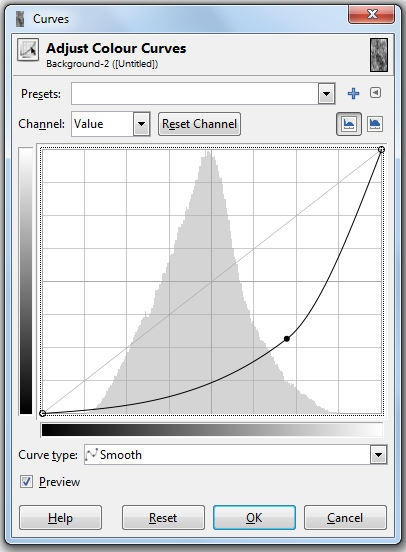
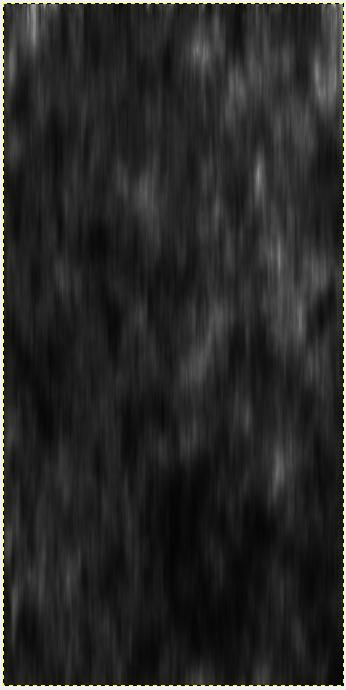
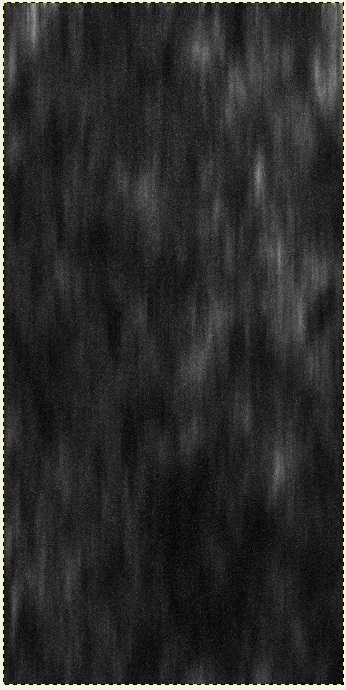
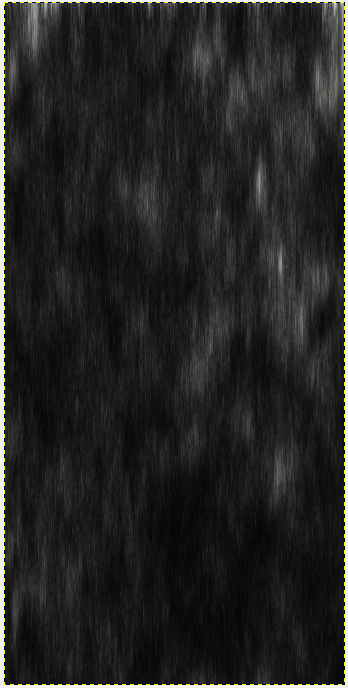
5. Make it darker |
| |
| |
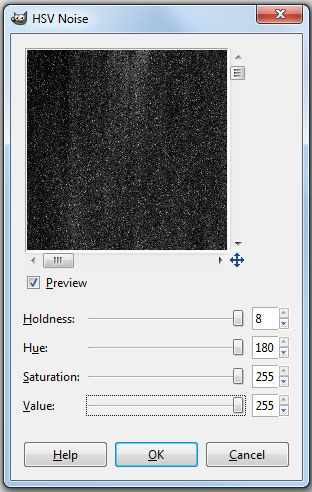
6. HSV-Noise |
| |
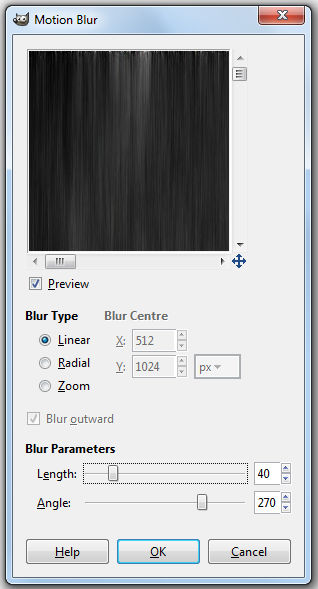
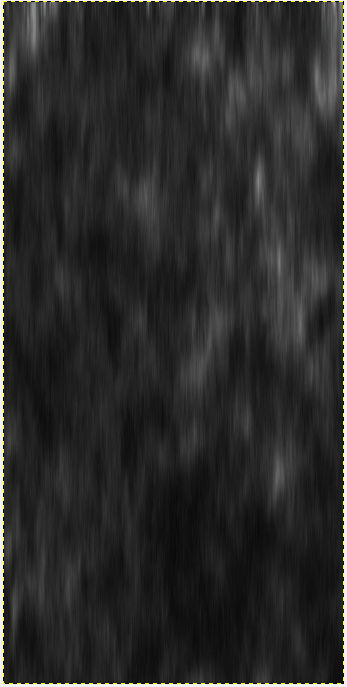
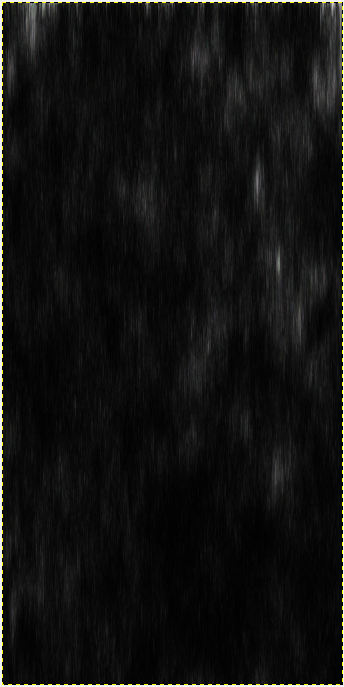
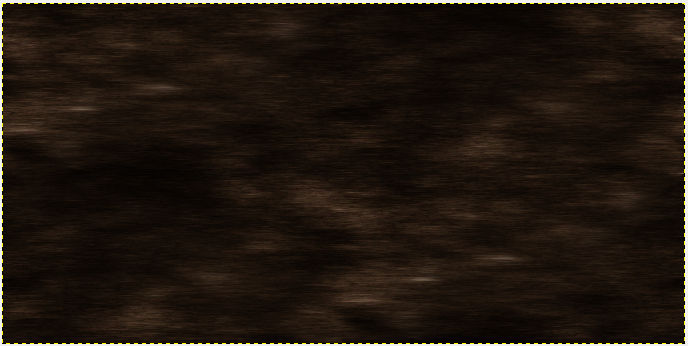
7. Again Motion Blur |
| |
| |
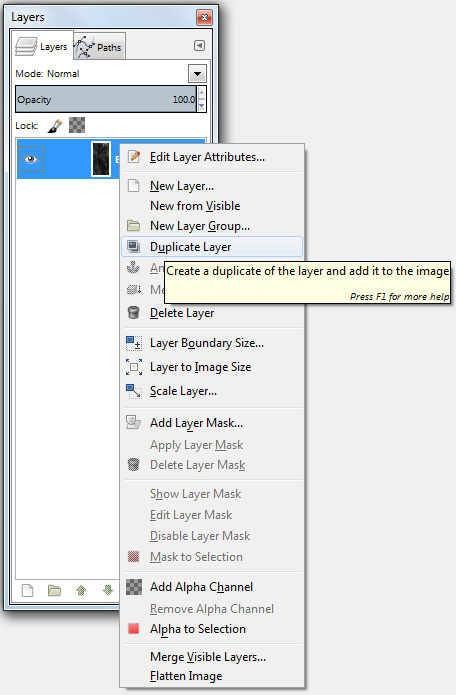
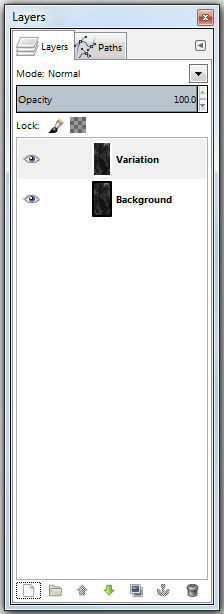
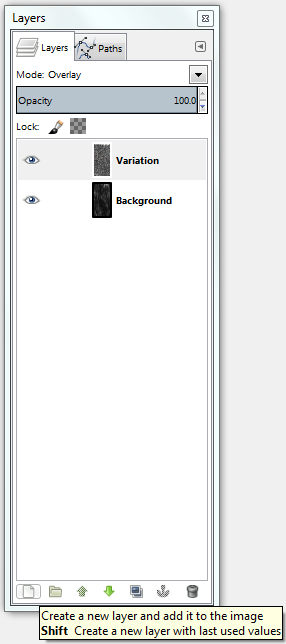
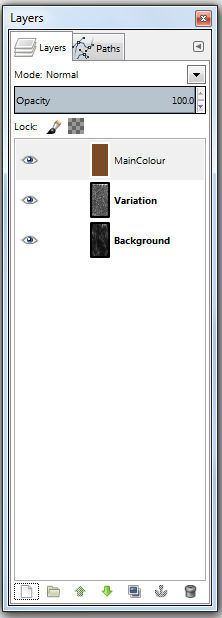
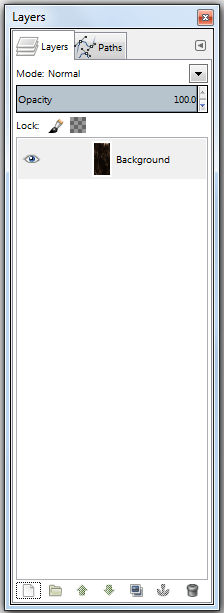
8. Duplicate layer and change the name |
| |
9. Edge Detect |
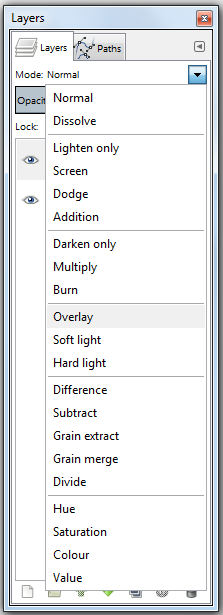
10. Change layermode from variation layer |
| |
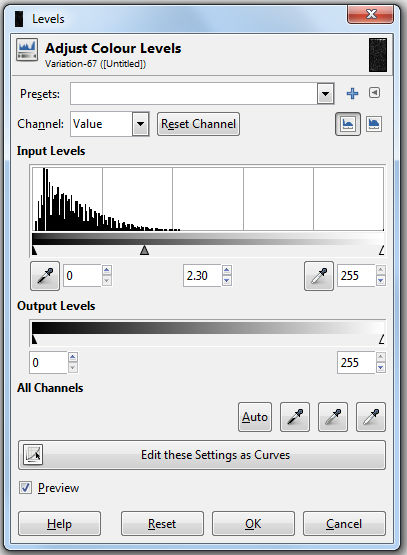
11. Change Levels |
| |
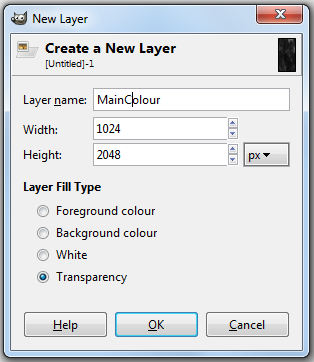
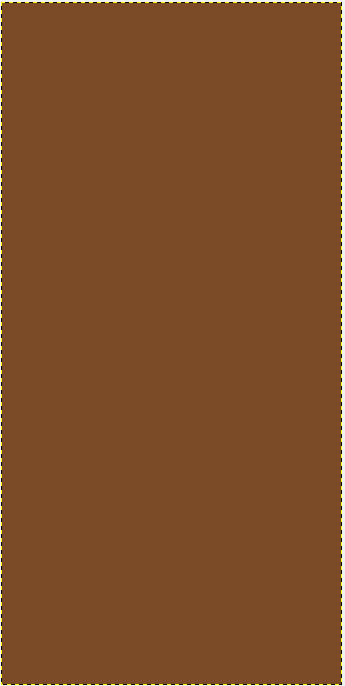
12. New layer for groundcolour |
| |
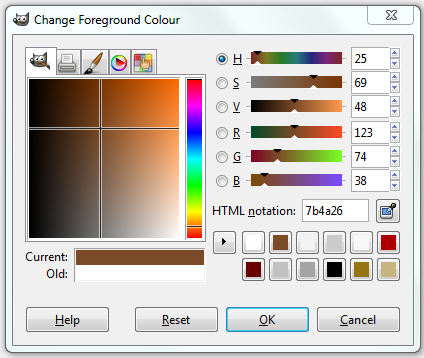
13. Choose Main Colour |
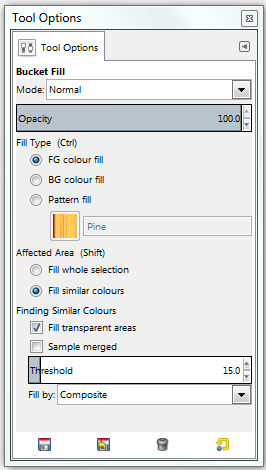
14. Filltool setup |
| |
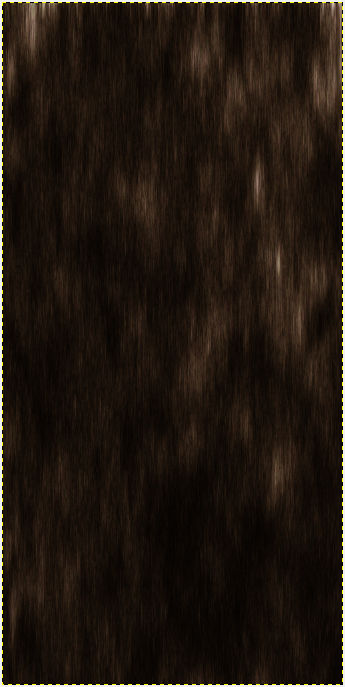
15. Colourize the layer |
16. Change layer mode |
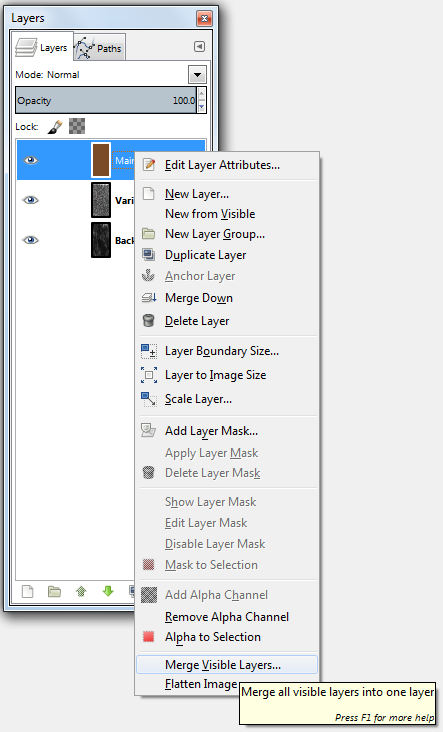
17. Merge visible layers |
| |
18. make it seamless |
| |